Information
Codelabs are a great way of walking new starters and employees through team processes and conventions.
The public Codelabs can be used to learn anything from Tensorflow through to using Cloud APIs.
This repo builds the Tools into a container that can be used to build a statically hosted image.
Walking through these steps will allow you build your own container and add your own Codelabs.
How it works
We use the Codelabs to build a base container, passing it into a multistage build that processes markdown files to build a final static hosted web folder in an nginx container.
It requires the process-labs.sh script to convert the markdown and copy across images, icons and append css.
The processed output in the ./dist folder is then put into a container hosting static content (using nginx).
Fork
You can use github to fork the repo into your own account.
Goto https://github.com/chrisguest75/codelab_example and fork
Clone
git clone https://github.com/chrisguest75/codelab_example
NOTE: If you choose to clone the repo then you need to set a new origin by removing the old one.
git remote remove origin
git remote add origin git@github.com:<account>/<repo>
git push
Building
To build the base container used to build the example codelabs. The base container will use the Codelabs repo. It will install some necessary tools (claat) and set a structure to process a set of markdown defined codelabs.
./build_base.sh
To rebuild the codelabs using the base container. It will also run and host on port 8000 for testing.
./build_codelabs.sh
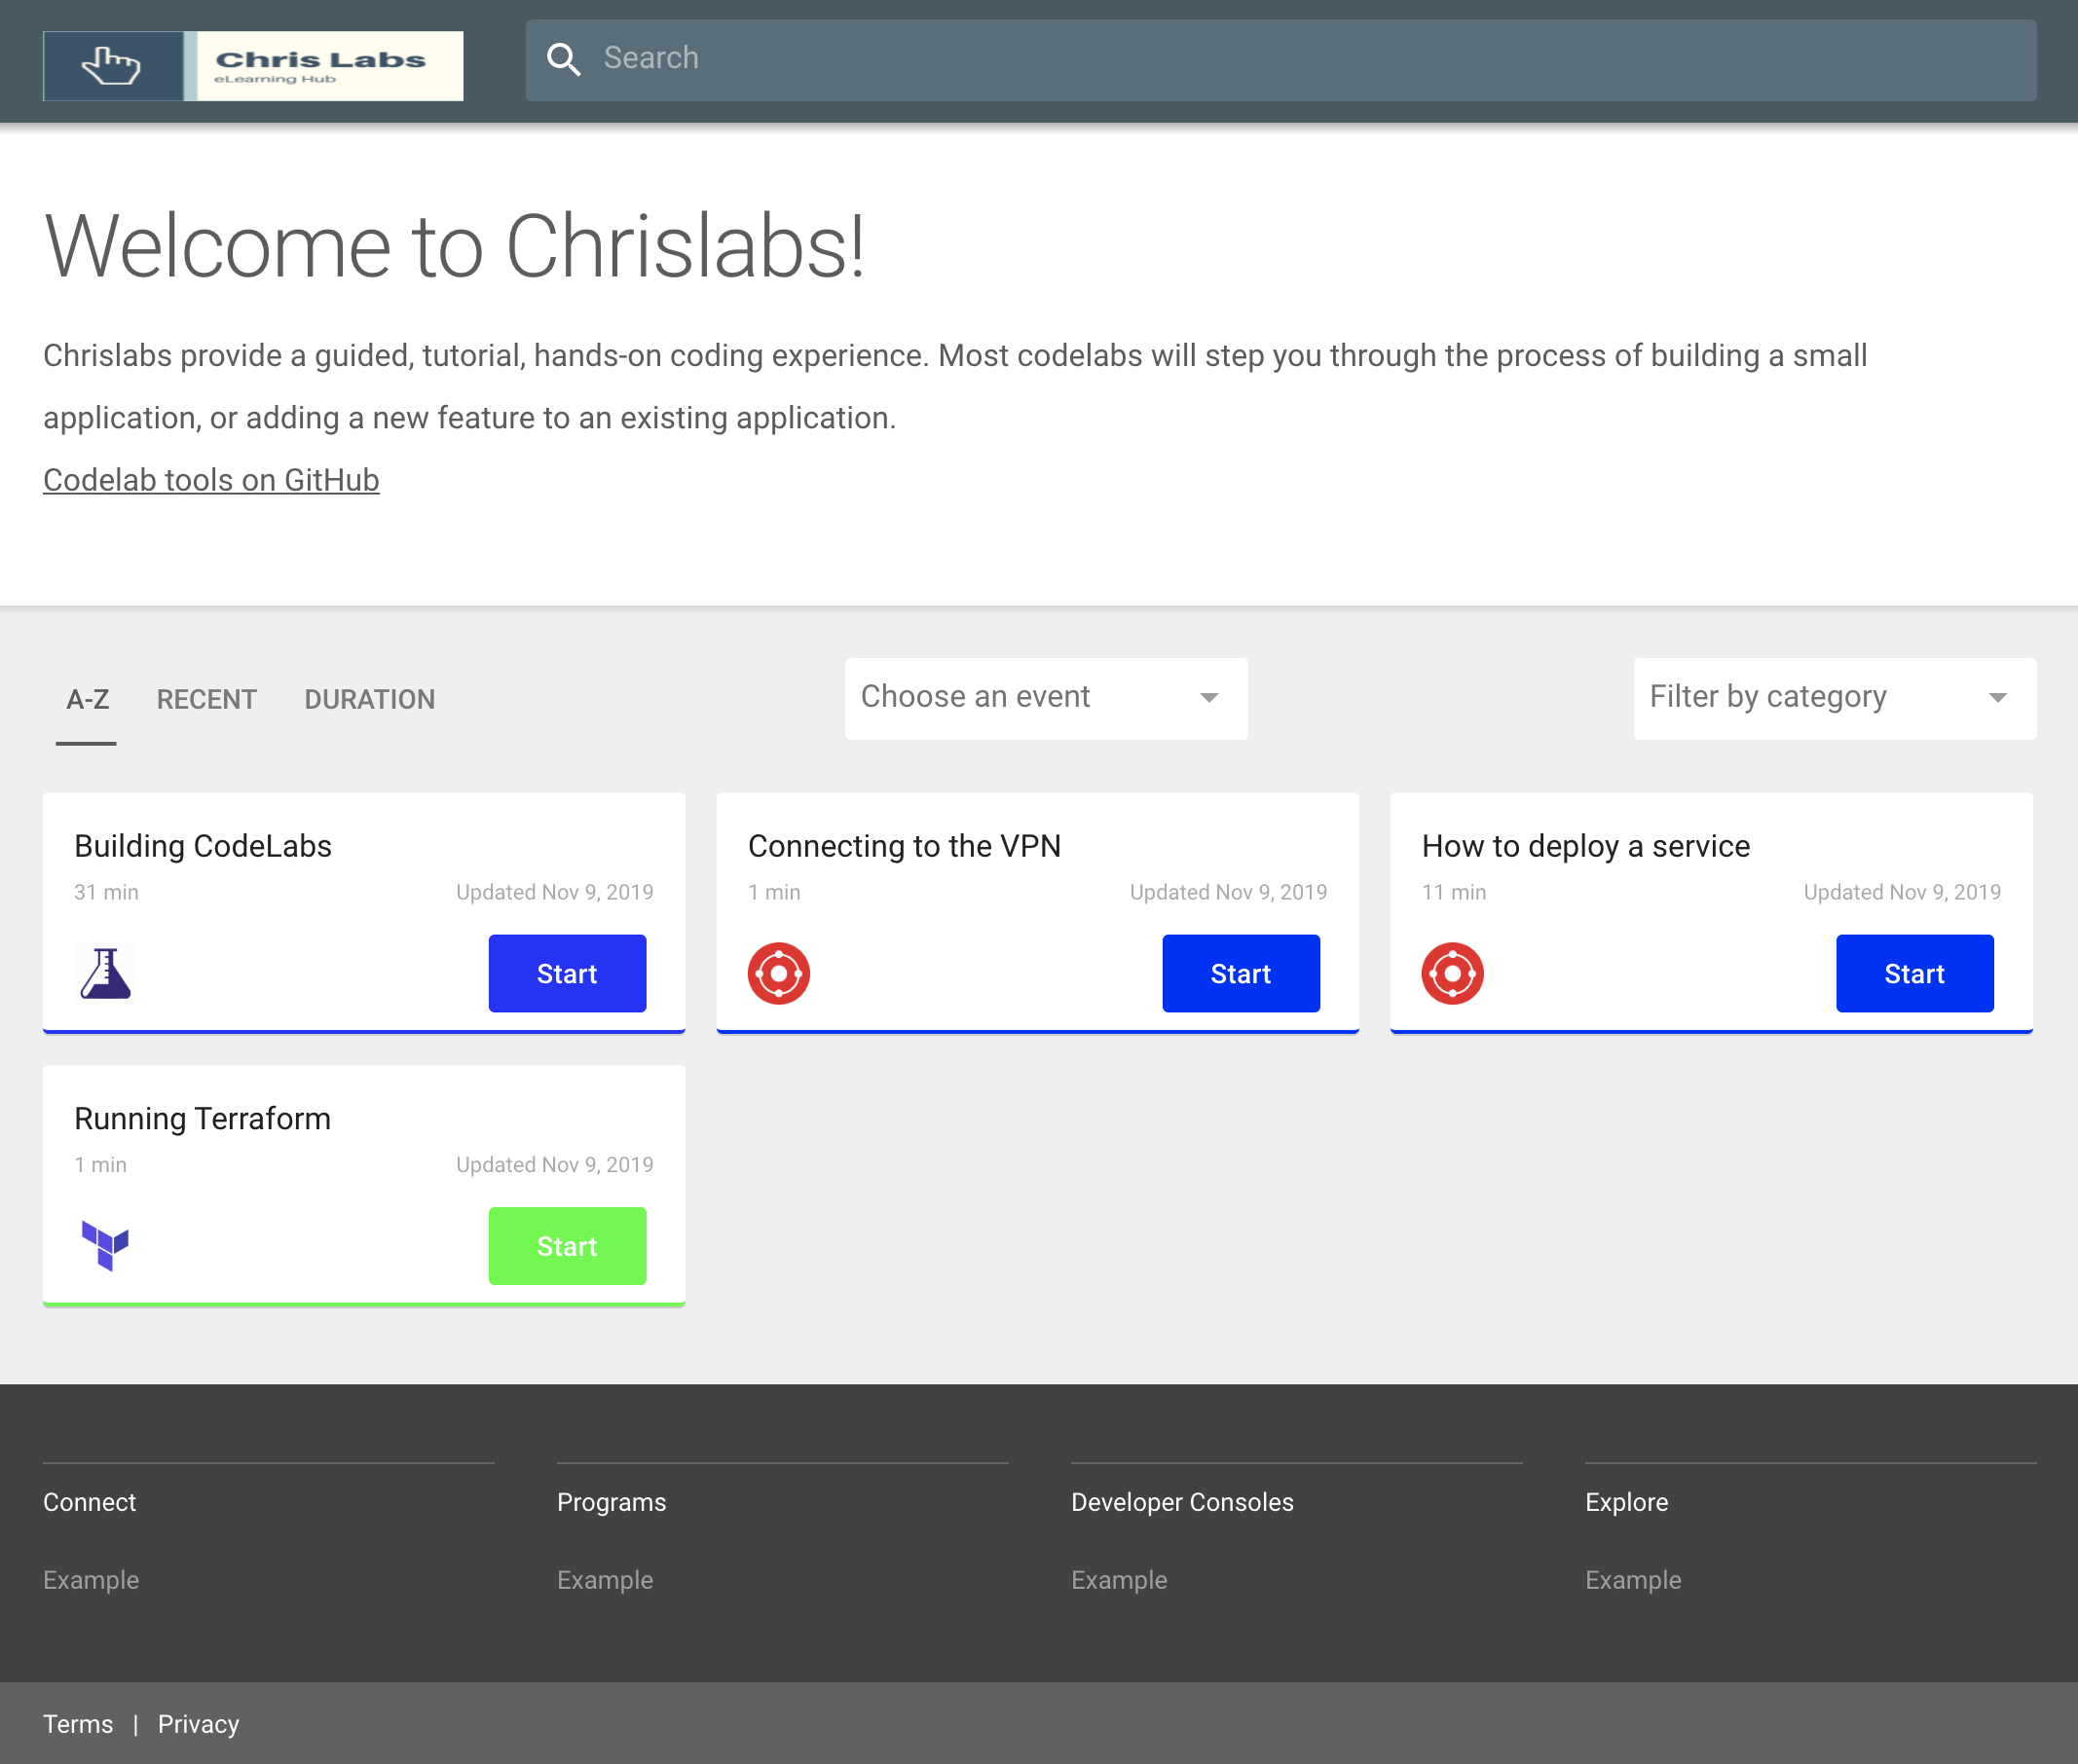
You should see a screen like the following.
Add markdown
Go to the ./labs folder and add a new markdown file
summary: My First Codelab
id: myfirst-codelab
categories: codelabs
tags: build
status: Published
authors: Your name
Feedback Link: mailto:your.name

# My First CodeLob
<!-- ------------------------ -->
## Overview
Duration: 1

### Information


<!-- ------------------------ -->
## Second page
Duration: 1

### Information
Add an image to your labs
Go to the ./labs/assets folder and add a png picture.
Add a reference to it in the markdown.

Resizing
Install and use imagemagick to resize images
brew install imagemagick
mogrify -resize 50% ./assets/your_picture.png
Key Skills
You have now added your own lab. Use your new found knowledge to build out more.